
How to Create a Pin on Pinterest: A Step-by-Step Guide for 2026
Learn how to create a pin on Pinterest step by step, on desktop and the mobile app, plus idea pins, sizing, and the design and SEO details that get clicks.
By Pedro Campos
 Supapin
Grow your traffic with Pinterest
- Turn your pages into pins
- Rank in Pinterest search
- Drive clicks back to your site
No credit card required
Creating a pin is the single most important skill on Pinterest, and it is also where most people get stuck on day one. The button is not always where you expect it, the image requirements are easy to get wrong, and the difference between a pin that quietly disappears and one that sends traffic for months comes down to a handful of details nobody tells you about.
This guide walks through exactly how to create a pin on Pinterest, step by step, on both desktop and the mobile app. By the end you will know how to make a standard image pin, an idea pin, and a video pin, what size your image should be, and the title and description choices that decide whether your pin actually gets seen. Pinterest had 640 million monthly active users as of mid-2026, and unlike a social post that fades in hours, a well-made pin can resurface in search for months or even years. It is worth learning to do properly.
What you need before you create a pin
Before you make your first pin, get two things in order.
A Pinterest business account. It is free and it unlocks everything that matters: analytics, the ability to claim your website, rich pins, and access to ads if you ever want them. If you already have a personal account, you can convert it in settings without losing anything, or add a free business account alongside it. A personal account can still create pins, but you will be flying blind without analytics.
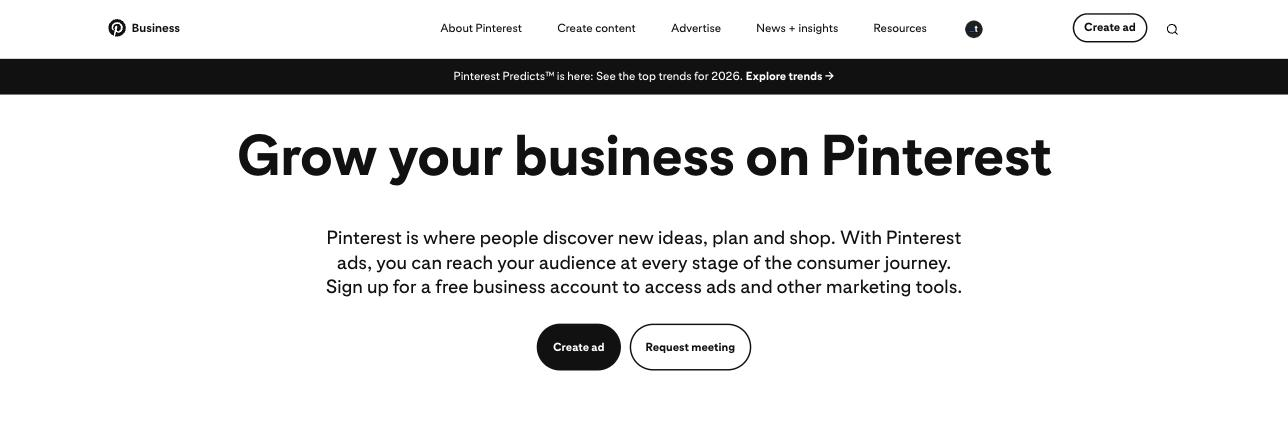
A destination and an image. Every pin that drives traffic points somewhere, usually a blog post, product page, or landing page. You will also need a vertical image. Pinterest is a visual search engine, so the image is not decoration, it is the product. If you do not have one ready, that is fine, we will cover how to make one in the design section below.
That is genuinely all you need. Now let's create the pin.
How to create a pin on Pinterest: desktop, step by step
The desktop flow gives you the most control, so it is the best place to start.
-
Log in and click the "Create" button. It sits in the top-left of the screen once you are logged in at pinterest.com. Click it, then choose "Create Pin" from the dropdown.
-
Upload your image. Drag your image into the upload area on the left, or click to browse for the file. You can also paste an image URL. The moment it uploads, you will see a live preview of how your pin will look in the feed.
-
Write your title. You get up to 100 characters, but the first 30 to 40 are what show in most places, so front-load the important words. "Easy 30-Minute Weeknight Dinners" beats "My Favorite Recipes" every time because it matches what someone would actually type into search.
-
Write your description. You have up to 500 characters. This is where Pinterest reads what your pin is about, so describe the content naturally and work in the phrases your audience searches for. Do not stuff keywords, write a real sentence or two that happens to include them.
-
Add your destination link. Paste the URL you want people to land on when they click. This is the whole point of a traffic pin, so do not skip it. Double-check it opens the right page.
-
Choose a board. Select an existing board or create a new one on the spot. Pick a board whose theme matches the pin, because Pinterest uses the board as a context signal.
-
Publish or schedule. Click Publish to post immediately, or use the schedule option to set a future date and time. Pinterest lets you schedule pins up to two weeks out natively.
That's it, your pin is live. Refresh your profile and you will see it on the board you chose.
A note on tags and alt text
Before you publish, two small fields punch above their weight. Tagged topics help Pinterest categorize your pin, so add a few relevant ones. And if the option appears, fill in the alt text, a plain description of what the image shows. Alt text improves accessibility for screen-reader users and gives Pinterest another signal about your content. If writing descriptive alt text for every pin feels tedious, our Pinterest alt text generator turns a title into a clean description in seconds.
How to make a pin on the Pinterest mobile app
Creating a pin on your phone follows the same logic with a different tap path.
- Open the app and tap the plus (+) icon. Depending on your version it is either at the bottom center of the screen or in the top-right of your profile.
- Choose "Pin" (not "Idea Pin", which we cover next).
- Tap to select a photo from your camera roll, or take one on the spot.
- Add your title, description, and destination link, exactly as on desktop.
- Pick a board.
- Tap Publish.
The mobile app is perfect for quick pins and for photographing physical products, but for anything you want to look polished, desktop plus a proper design tool wins. Which brings us to the part that actually decides whether your pin performs.
Idea pins and video pins: two variations worth knowing
A standard image pin is your workhorse, but Pinterest supports two other formats you will run into.
Idea pins are multi-page, story-style posts made of images, video, text overlays, and stickers. They are built to keep people on Pinterest rather than click out, so historically they have not carried a destination link the way image pins do. They are great for engagement, tutorials, and showcasing a process, but if your goal is website traffic, standard image pins remain the priority. To create one, choose "Idea Pin" instead of "Pin" in the Create menu and add your pages one by one.
Video pins work just like image pins but use a short video (4 seconds to 15 minutes, though 15 to 30 seconds performs best). Motion stops the scroll, so video pins often earn more impressions. Upload a vertical video in the same Create Pin flow, then add your title, description, and link as usual.
What actually makes a pin worth creating
Knowing how to create a pin is the easy part. Creating one that gets clicks is where the real work is. Three things carry most of the weight.
Get the image size right
Pinterest is built for vertical images with a 2:3 aspect ratio, and the recommended size is 1000 x 1500 pixels. Get this wrong and your pin gets cropped in the feed or looks small next to competitors. Square and horizontal images technically work but take up less screen space and consistently underperform. If you are unsure whether your image fits, our full breakdown of Pinterest pin sizes covers every format, and the Pinterest image resizer will crop any image to the correct 2:3 dimensions in one click.
Design for a thumb-stop, not a gallery wall
Your pin competes against dozens of others in a fast-scrolling feed. The winners share a few traits:
- A clear focal point that reads even at thumbnail size
- A bold text overlay that states the benefit ("5 Budget Meal Prep Ideas")
- High contrast and readable fonts, no thin script over a busy photo
- Consistent branding, a small logo or brand color in the same spot each time
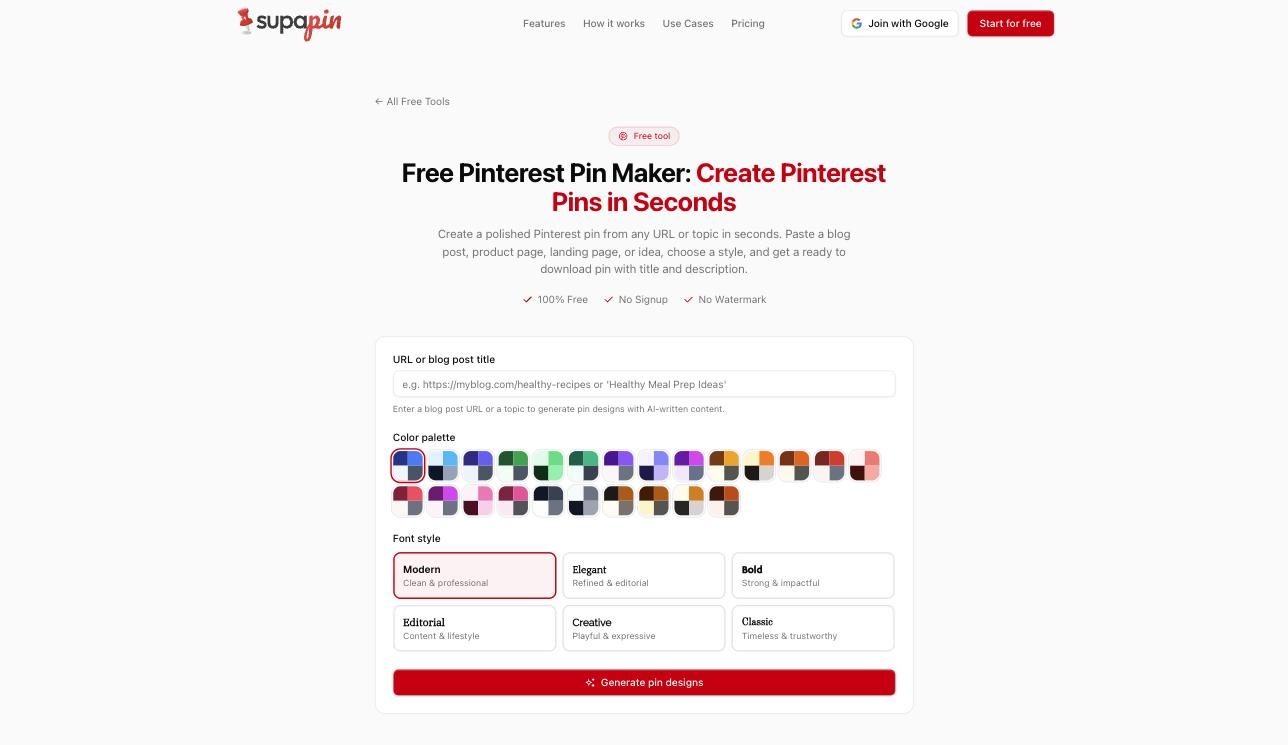
If you do not have a designer, you do not need one. The Pinterest pin maker gives you templates sized correctly for Pinterest so you can drop in your image and text and export a polished, on-brand pin without opening design software.
Write a title and description that match search
Pinterest is a search engine, so your words decide who finds you. Before you write, think about the exact phrase your ideal viewer would type. A title that mirrors a real search earns impressions; a clever, vague one earns nothing. The difference is easy to see side by side:
| Weak title | Search-friendly title |
|---|---|
| Our New Look | Cozy Fall Living Room Decor Ideas |
| Yum! | Easy 30-Minute Weeknight Dinners |
| Must-have | Budget Home Office Setup for Small Spaces |
| Obsessed 😍 | Minimalist Capsule Wardrobe Checklist |
Every title on the right matches a phrase someone would actually type into Pinterest search, and each front-loads the words that matter. Weave those same phrases naturally into your description too. If writing SEO-friendly copy for every pin slows you down, the Pinterest title and description generator drafts both from a single topic.
Common mistakes when creating pins
A few avoidable errors sink otherwise good pins:
- Forgetting the link. A pin with no destination cannot send traffic. It happens more than you would think.
- Using a horizontal image. It gets dwarfed in a vertical feed.
- Vague titles. If the title does not match a search, the pin stays invisible.
- Text baked too small. Half of Pinterest views happen on phones. If the overlay is unreadable at thumbnail size, it is unreadable, period.
- Publishing one pin per post and stopping. A single blog post can support five or ten different pins with different images and angles. Creating just one leaves most of your reach on the table.
That last point is the one that quietly limits most accounts, and it leads directly to the real question.
How to create pins at scale without burning out
Creating one great pin, following every step above, takes fifteen to twenty minutes when you factor in design, writing, and sizing. Now multiply that by the ten or more pins you would ideally publish each week to grow, and the math gets discouraging fast. This is the wall almost everyone hits: they know how to make a good pin, they just cannot make enough of them by hand to see momentum.
That is exactly the problem Supapin solves. You connect your website, and Supapin scans your content, generates professionally designed pins sized correctly for Pinterest, writes SEO-optimized titles and descriptions, picks relevant boards, and schedules everything automatically. Instead of creating pins one at a time, you go from a published post to dozens of ready-to-schedule pins in minutes, each following the design and SEO principles in this guide.
You now know how to create a pin on Pinterest the right way, on desktop, on mobile, and in every format. The next step is doing it consistently enough to matter. Start creating pins with Supapin for free and turn the process you just learned into steady, hands-off traffic.
Ready to grow your traffic with Pinterest?
Turn the pages you already have into pins that send traffic back to your site.
Start for freeRelated Posts
Pinterest SEO in 2026: How Pinterest Actually Decides Which Pins Get Found
How Pinterest search works in 2026: where keywords count, why the image and board matter, and what your website has to do with ranking.
BlogToPin vs Pinterest Scheduler vs Supapin: Which Fits You?
Pinterest's native scheduler, BlogToPin and Supapin compared: what each one automates, real pricing, and a straightforward way to decide which fits your workflow.
Tailwind vs Pin Generator vs Supapin: Which Fits Your Workflow?
A practical comparison of Tailwind, Pin Generator and Supapin: what each tool automates, what you still manage yourself, and which workflow fits your site.